Exercise 2: Publish a repository
In this exercise, we will publish the new repository to the cloud. We will then examine its contents on Github’s website.
A) Set the current repository
In Github Desktop, you should see three tabs near the top of the screen. The left tab lists the current repository. When you created the new repository, Github Desktop should have automatically set it as the current repository. For example, after creating the “salsa-demo” repository, I have:
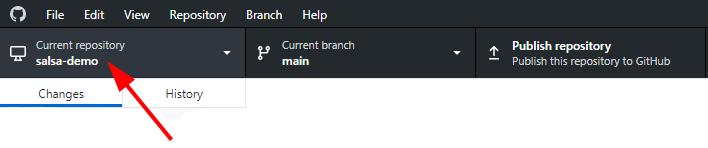
If your current repository is something other than the new repository, click on the left tab and select the new repository from the dropdown menu.
B) Publish
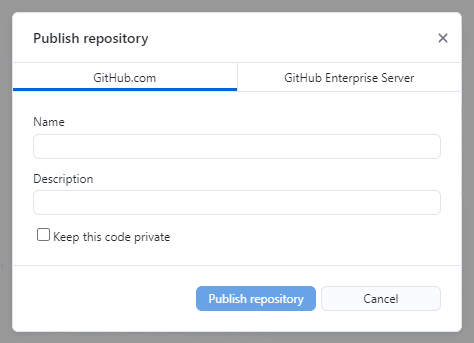
Now look at the right tab. It should be marked with the option “Publish Repository”. Click on the tab

This will open a box showing the name and description of the repository. There is also an option to make the repository public or private. (There is also an option to publish to a Github Enterprise server instead of Github.com, but we will not be using this for the workshop.)
Make the selections you find appropriate and click the “Publish Repository” button. For the demo, I am choosing to use a public repository, so I will use:
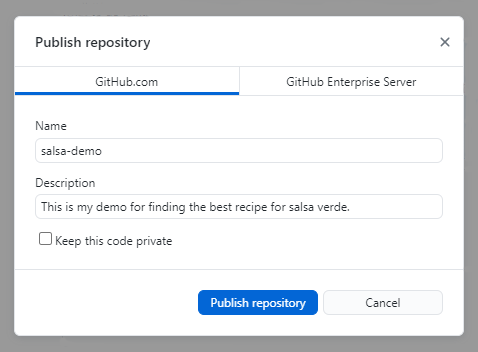
before clicking the publish button.
C) Go to the remote repository
Let’s take a look at the remote repository we just created. Head online and login to your Github account. If you are on the main page, then you should see a list of your repositories on the left side of the screen. For example, here is my account with the demo repository.
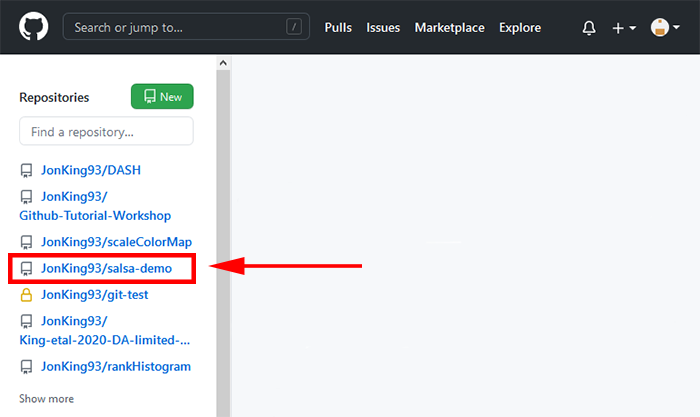
Find your repository and click on it.
Alternatively, if you are on the page for your user account, then click on the “Repositories” tab on the top of the screen.
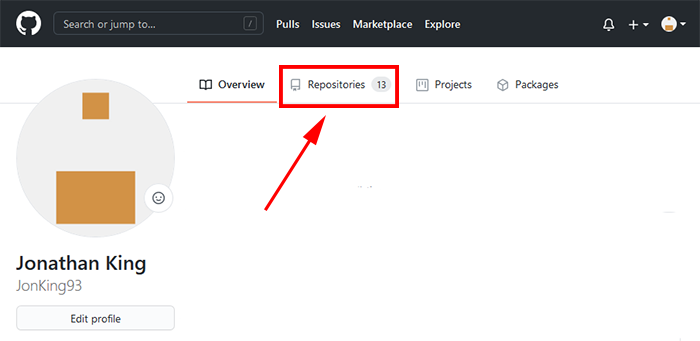
You should see a list of your repositories. For example:
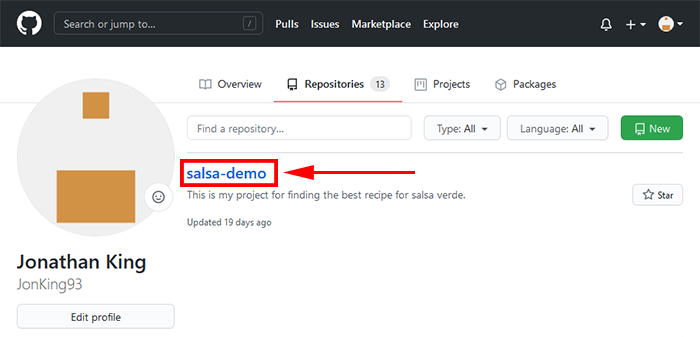
Find your repository and click on it.
D) Examine the contents of the remote repository
You should find yourself on a page for your repository. For example, here is the page for my demo repo.
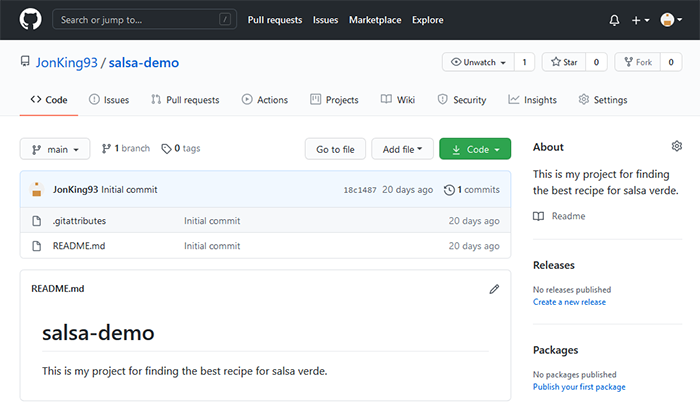
This page includes many options for interacting with your project, such as:
- Documenting bugs and organizing to-do lists,
- Collaborative coding,
- Creating software releases,
- Organizing projects into a package,
and many other features. These features are mostly beyond the scope of this workshop, but I’d encourage you to explore them on your own time.
For now, we’ll just focus on one feature. In the center of the page, you should see a list of the files in your repository. For example:
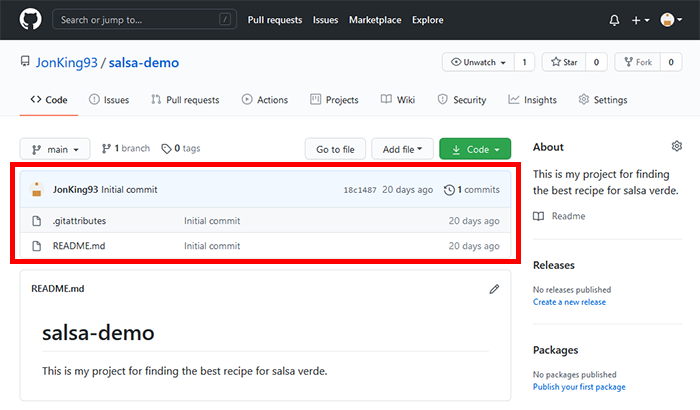
We can see that the repository is currently tracking two files: the “.gitattributes” file and the README.
Now that you have a remote repository, you can start building your project and tracking changes. In the next exercises, we will commit some new files to the project and push them to the remote repository.