Exercise 3: Commit new files to the repository
Now that we’ve created and published the repository, we’re going to start adding the files for our project. Again, if you would like to follow along with the demo, you can download the demo files here.
A) Add a file to the local repository
Move a project file into the local repository on your computer. This can be almost anything, but a code file is a good place to start.
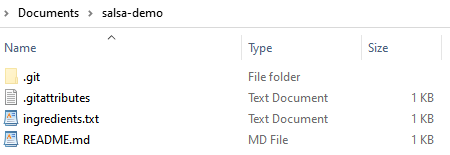
I’m going to add a file named “ingredients.txt” to my demo repository.
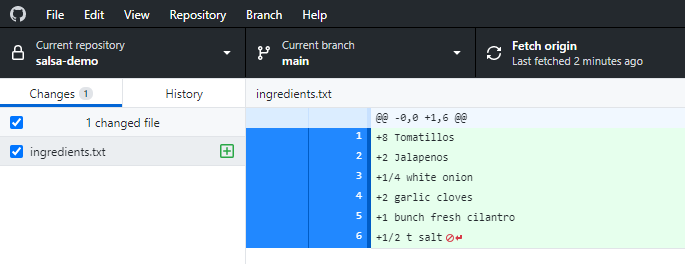
This is the ingredients list for my salsa recipe. The contents of ingredients.txt are:
8 Tomatillos
2 Jalapenos
1/4 white onion
2 garlic cloves
1 bunch fresh cilantro
1/2 t salt
Important: Github is designed to manage code, not large databases. Trying to commit files larger than 100MB will cause errors, so stick with something small for now. Later in Exercise 5, we will see how to use a .gitignore to add large files to a local repository without committing them.
B) Examine the new file
Open up Github Desktop. On the left side, under the “Changes” tab, you should see the name of the new file. The file name should be followed by a green plus, indicating that this is a new addition to the repository. On the right side, you can see the contents of the new file. For example, I have:
C) Commit the new file
We’re going to commit this file so that it’s saved in the repository. This way, Github will be able to track any future changes we make. At the bottom left of Github desktop, you should see the commit interface.
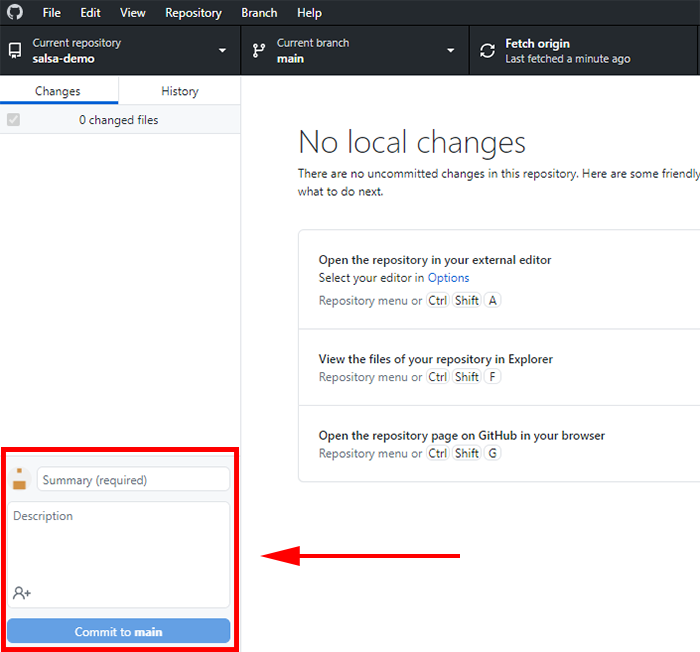
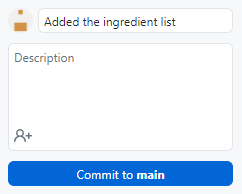
Zooming in, you can see that the commit interface consists of three pieces:
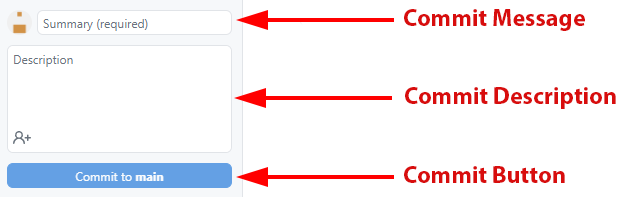
Commit message
The top field in the interface is the commit message. This is required for every commit and lets you record the changes you’ve made to the project.
Commit description
The middle of the interface is a field that lets you provide a more detailed description of the commit. This is optional but lets you go into depth about changes. You can also acknowledge collaborators for the commit using the button in the bottom left.
Commit button
Once you finish the commit message (and optionally the description), click the button to make the commit.
Go ahead and fill out the commit message and click the button to make the commit. For example, I used:
Congratulations, you just made your first commit! In the next exercise, we will push the commit so that the new file is backed up online.