Exercise 8: Branches
In this exercise, we will create separate branches and add commits to them.
A) Examine the current branch
Open up Github Desktop. Look at the three tabs at the top. The middle tab is the “Branches” tab.
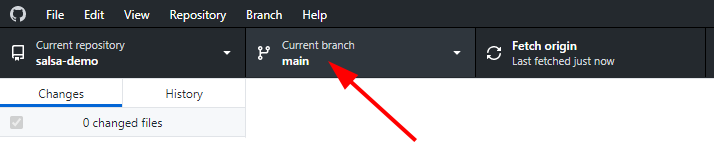
The branches tab displays the current branch for a repository. Anytime you edit the files in a repository, the edits will only be made on the current branch. Everything we’ve done so far has been on the default branch, which is typically called the “main” branch. For example, in the figure above, you can see that the salsa repository is currently on a branch called “main”.
B) Create a new branch
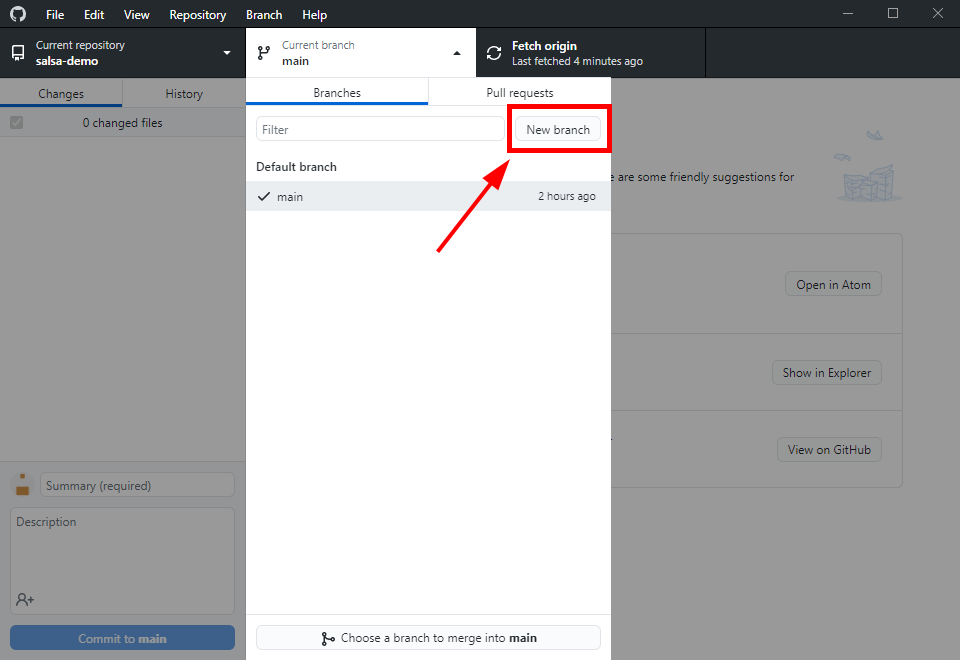
Click on the “Branches” tab. This will display a list of all the branches for your project. Currently, we only have the one default branch, so the window should only list a “main” branch. Let’s work on changing that. Click on the “New Branch” button in the upper right.
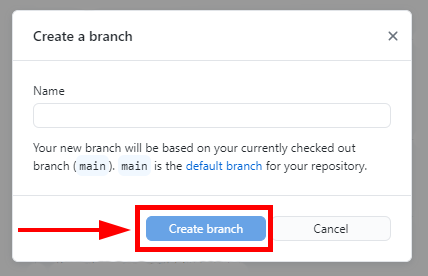
This will open a window where you can name and create a new branch. Type in a useful name for your branch and click the “Create Branch” button.
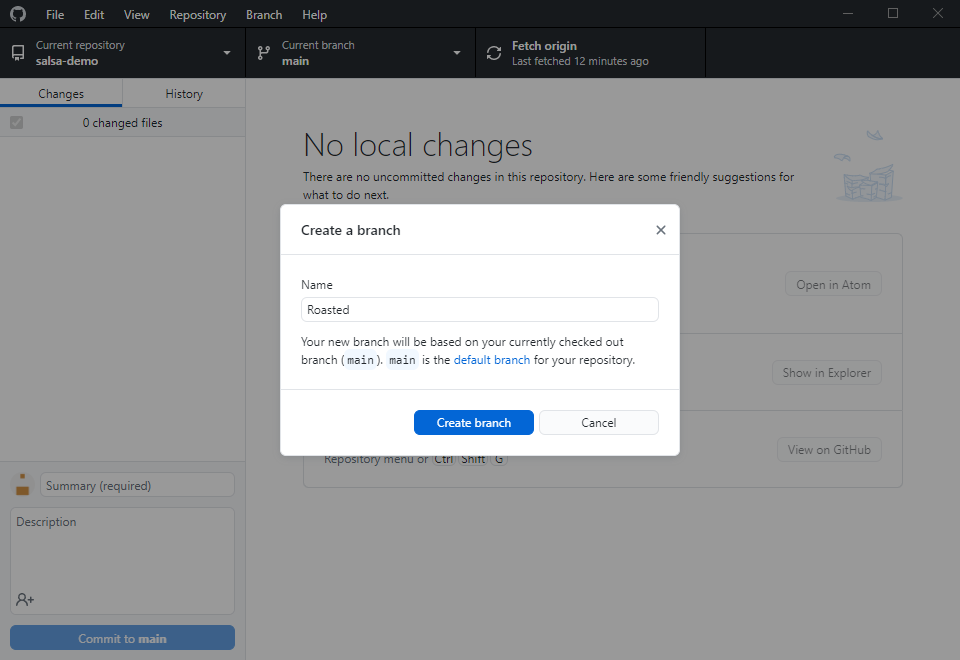
Note that branch names cannot use spaces, so any spaces will be replaced with a hyphen. For the salsa demo, I am going to create a branch where I roast the tomatillos instead of boiling them, so I have:
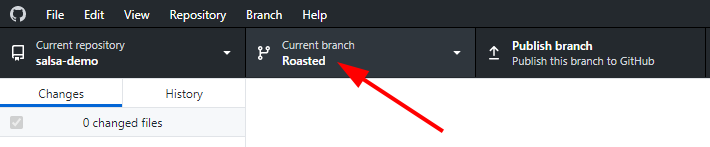
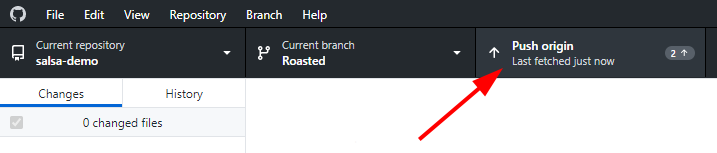
After creating the new branch, Github Desktop will update the current branch to the new branch. You can check this be re-examining the “Branches” tab. For example, here you can see that the salsa repository is now on the “Roasted” branch.
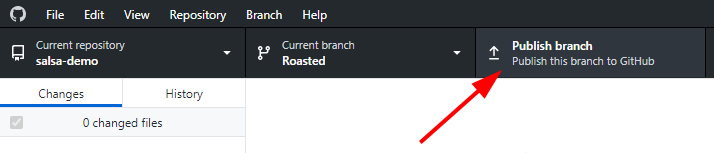
Click the “Publish” tab so that this new branch is also added to the remote repository.
C) Commit to the new branch
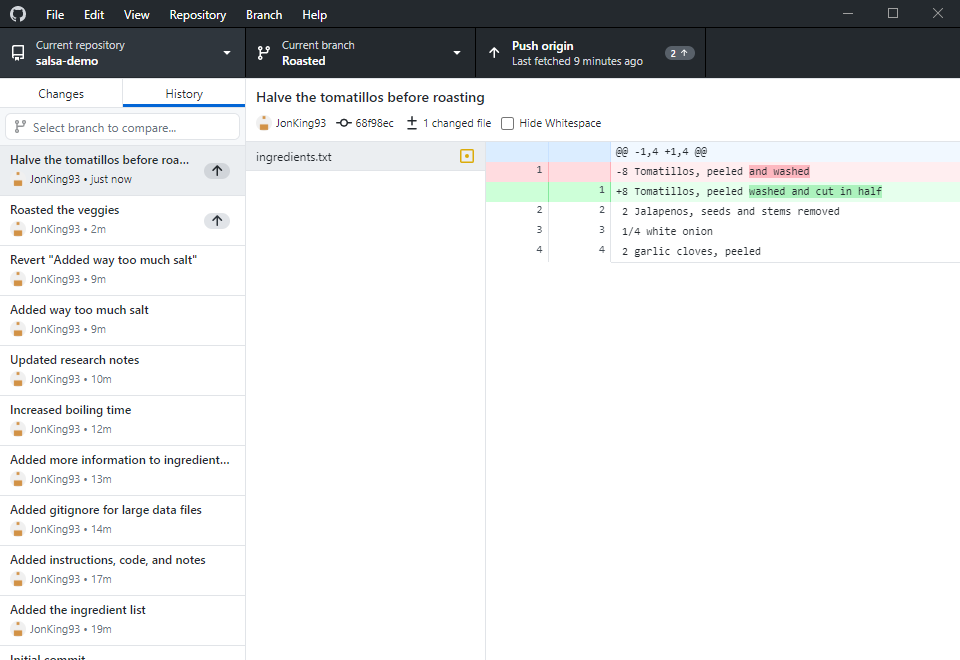
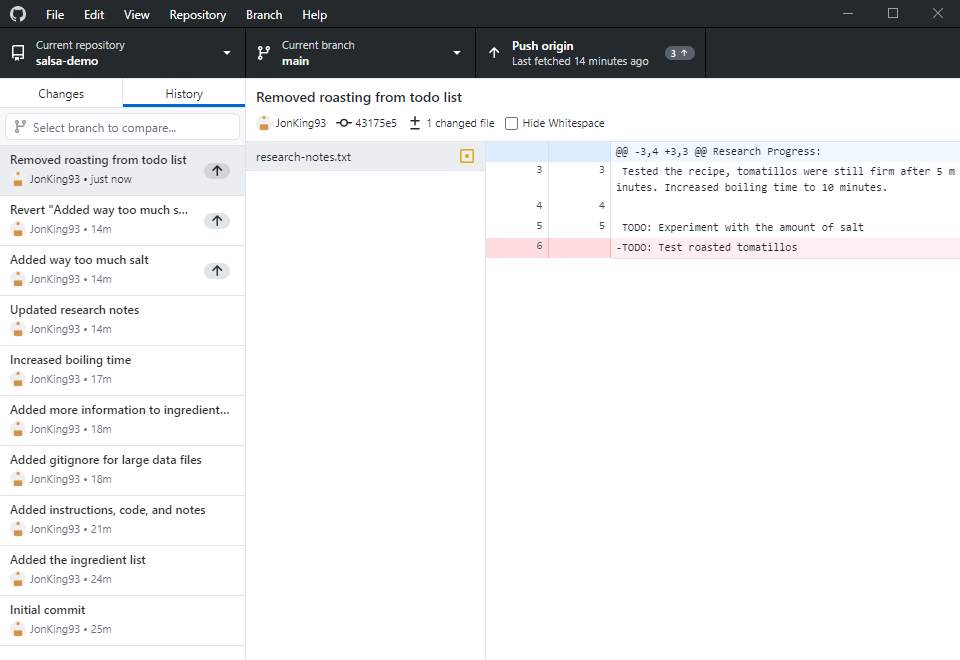
Make at least two commits to the new branch and examine the version history. You should see all of the old commits plus the two new commits. For example, I updated the recipe instructions and edited the ingredients list on the “Roasted” branch. The version history shows these two new commits, as well as all my previous commits.
D) Switch to the main branch
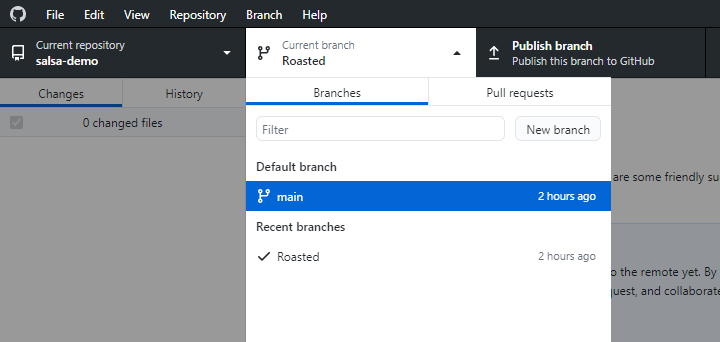
Let’s now make some commits to the default “main” branch. Click the branches tab to display the branches of your repository. Select the main branch to switch branches. For example:
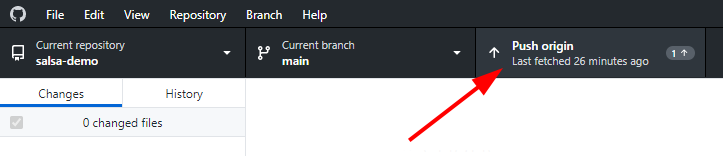
Select the main branch to switch branches. You can check that you have switched branches by re-examining the “Branches” tab. For example, my salsa repository is now back on the main branch.
.
Examine the version history for this branch. The two new commits should not be listed because they are on the other branch. For example, the edits to the recipe instructions and ingredients do not appear on this branch of my salsa repository.
E) Commit and compare branches
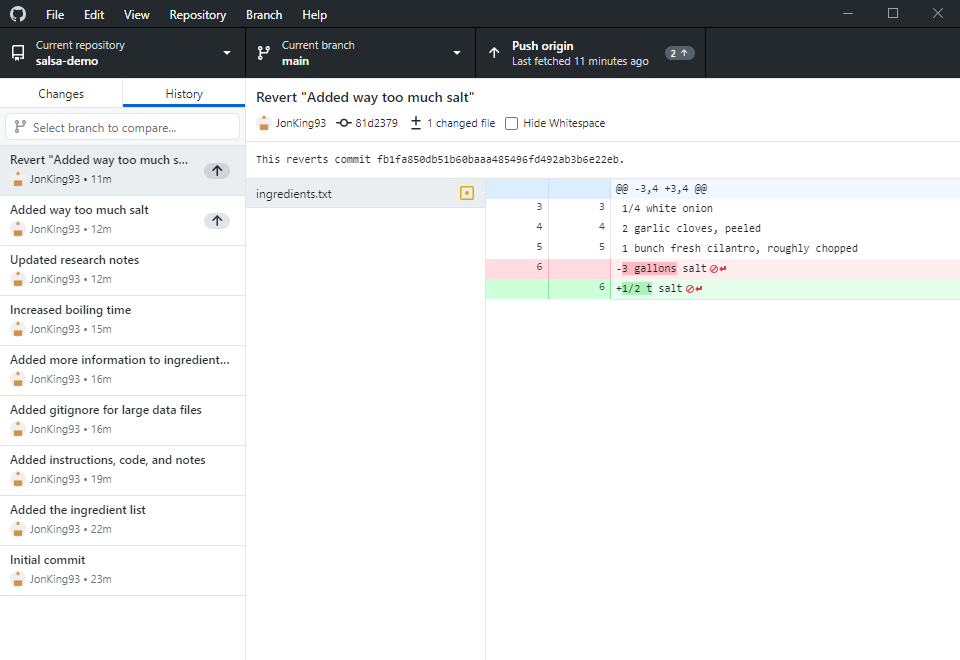
Make a commit to the main branch; make this commit different from the two commits you made on the other branch. Examine the version history. You should see the new commit on the main branch, but not the commits made on the other branch. For example:
F) Push the two branches
When working with multiple branches, you will need to push their commits separately. Click the “Push” tab to update the “main” branch in the remote repository.
Next, switch to the other branch and push it as well.
G) Examine the branches on the remote repository
Head online to the remote repository. In the upper left of the “Code” window is a button that lists the branch currently displayed.
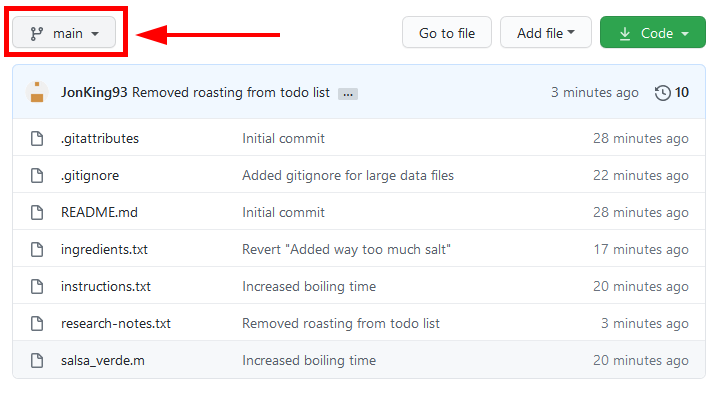
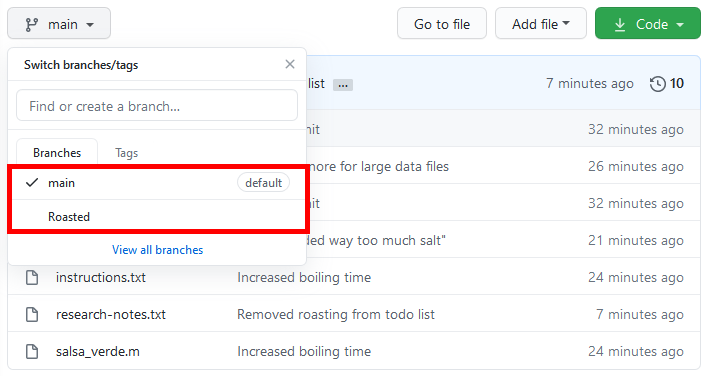
Click on this button to display a list of the branches in your project. For example, mine lists the main and Roasted branches:
Click on a branch name to display that branch instead. For example, after clicking on the “Roasted” branch, my remote repository now displays the commits to the Roasted branch:
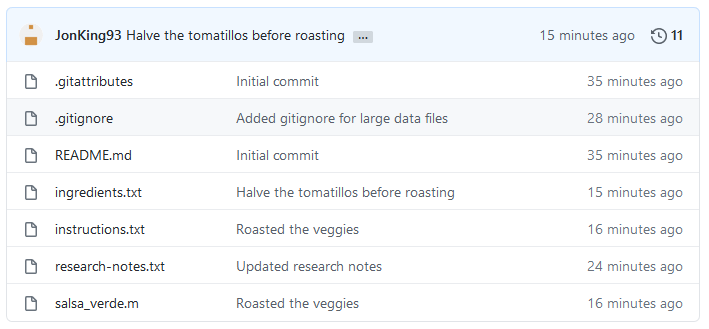
You can then use the website as usual to navigate the code for that branch.
We have now seen how to split a repository into multiple branches. However, it can also be useful to consolidate branches back into a single version. In the next sections, we will discuss how to merge different branches back together again.