Exercise 6: Track Changes and Version History
Now that you’ve added files to your repository, you can use Github to record all your edits. In this exercise, you will use Github to track changes to your files and obtain a version history.
A) Edit a file
Make some edits to a file in your repository. For example, I am adding a bit more information to the ingredients list. The updated “ingredients.txt” file now looks like:
8 Tomatillos, peeled and washed
2 Jalapenos, seeds and stems removed
1/4 white onion
2 garlic cloves, peeled
1 bunch fresh cilantro, roughly chopped
1/2 t salt
B) Examine the changes
Open up Github Desktop and look at the left hand side. Under the Changes tab, you should see the name of the edited file followed by a yellow dot (which indicates the file has been edited). On the right hand side, you can see the contents of the edited file. Git tracks changes to each line of a file, and you can see those changes here. A green background indicates a line has been added to a file, while a red background indicates that a line has been deleted. Lines with a white background have not been altered. For the salsa repository, I have:
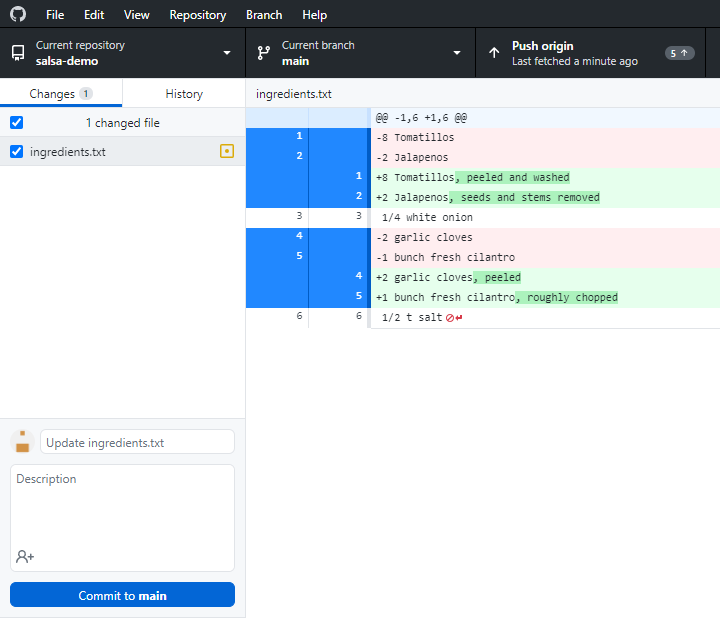
You can use the red and green backgrounds to see how I changed the file.
C) Practice committing edits
Commit your edited file and make at least two more commits. For example, I’m going to increase the boiling time to 10 minutes and update my research notes. Note that you can change multiple files with a single commit. For example, here I changed both the instructions and code files.
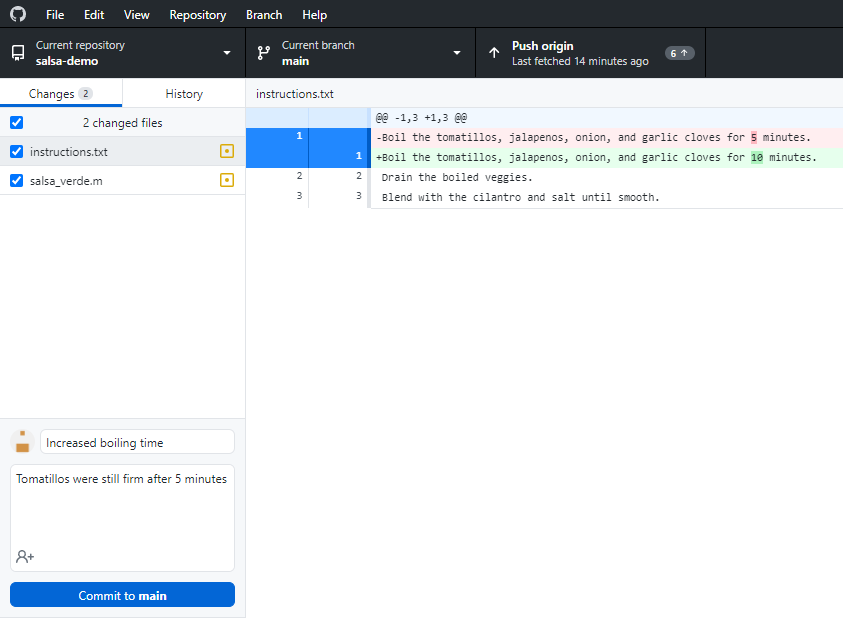
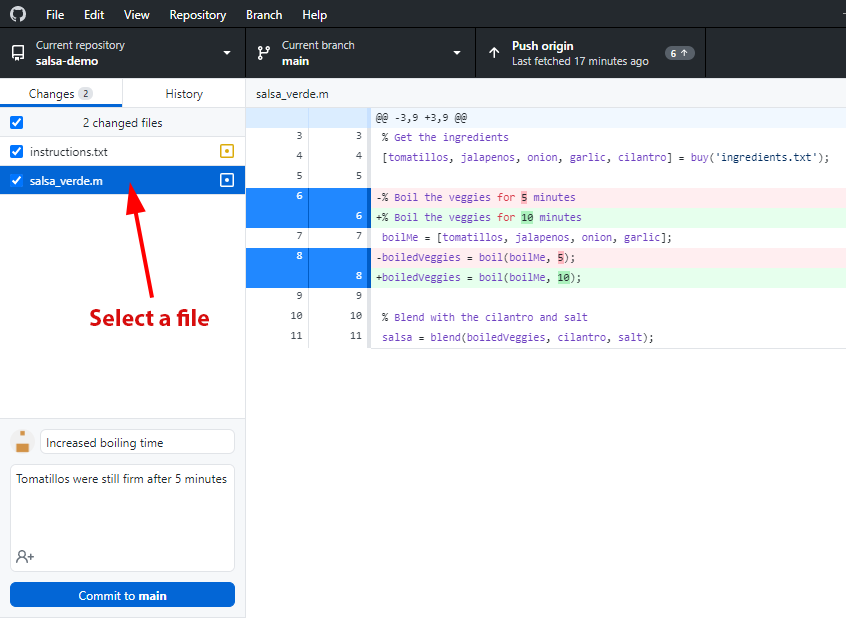
Note that you can examine the changes to different files by selecting them in the “Changes” tab. For example, if I wanted to see the changes to salsa_verde.m, I would do:
D) Examine the version history
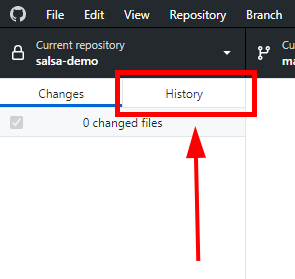
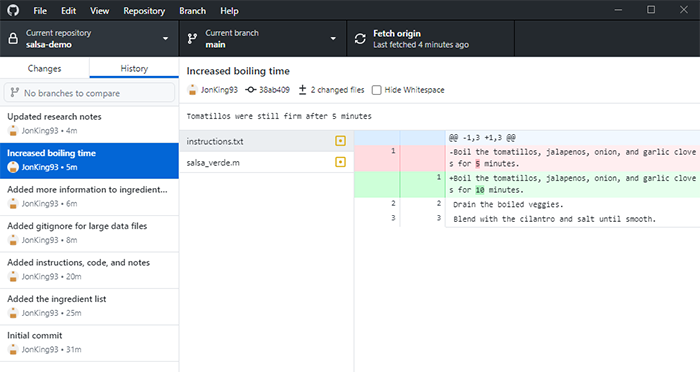
By making these commits, you’ve saved multiple versions of your work. Click on the “History” tab to see the version history for your project.
On the left hand side, you should see a list of all the commits you’ve made to the project. When you click on one of these commits, the middle of the screen will display the files changed in that commit, and the right side will show the changes to the selected file. For example, here is the version history for the commit where I added the ingredients list.
E) Version history via the remote repository
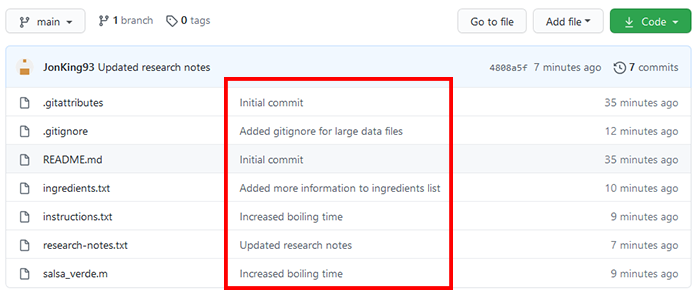
If you have not pushed your commits, go ahead and do so now. Head online to the remote repository and check out the code panel. Note that the text to the right of each file is the commit message for the most recent commit that altered the file.
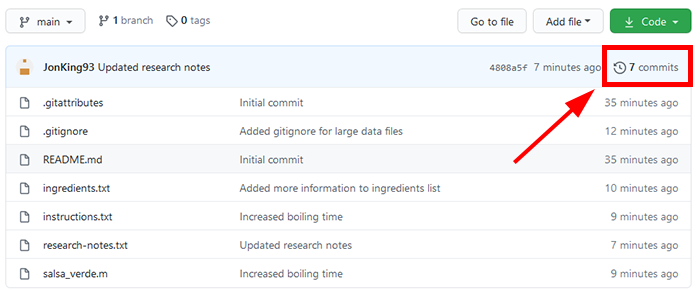
In the upper right corner is a “Commits” button. Click on it.
This will also take you to the version history for the repository. For example, I have:
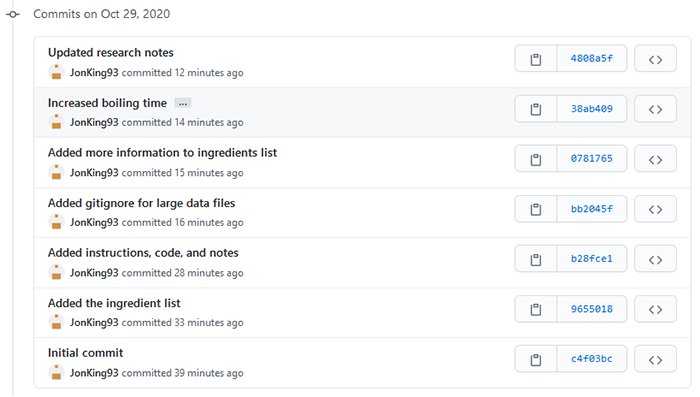
for the salsa demo. Clicking on any of these commits will allow you to browse the changes made to the relevant files.
A version history can be valuable for documenting progress and changes to a research project. However, it can also be useful for removing unwanted changes or updates that break your code. In the next exercise, we will see how to use the version history to revert bad commits.